Catalog
Attribute and taxonomy setup
Define fields and category structure before loading product data.
For workspace users and administrators · Updated October 1, 2026
What this module is for
Define fields and category structure before loading product data.
Use this page when you need to complete the task yourself and understand what each action changes. The steps name the relevant screen, explain why the action belongs in the workflow, and state what to verify before moving on.
Before you start
- Sign in with a role that can view or change the records in this guide.
- Have the product, file, channel, or workspace information ready before starting an action that saves data.
- Use a small test record or file first when an action affects multiple products or a connected channel.
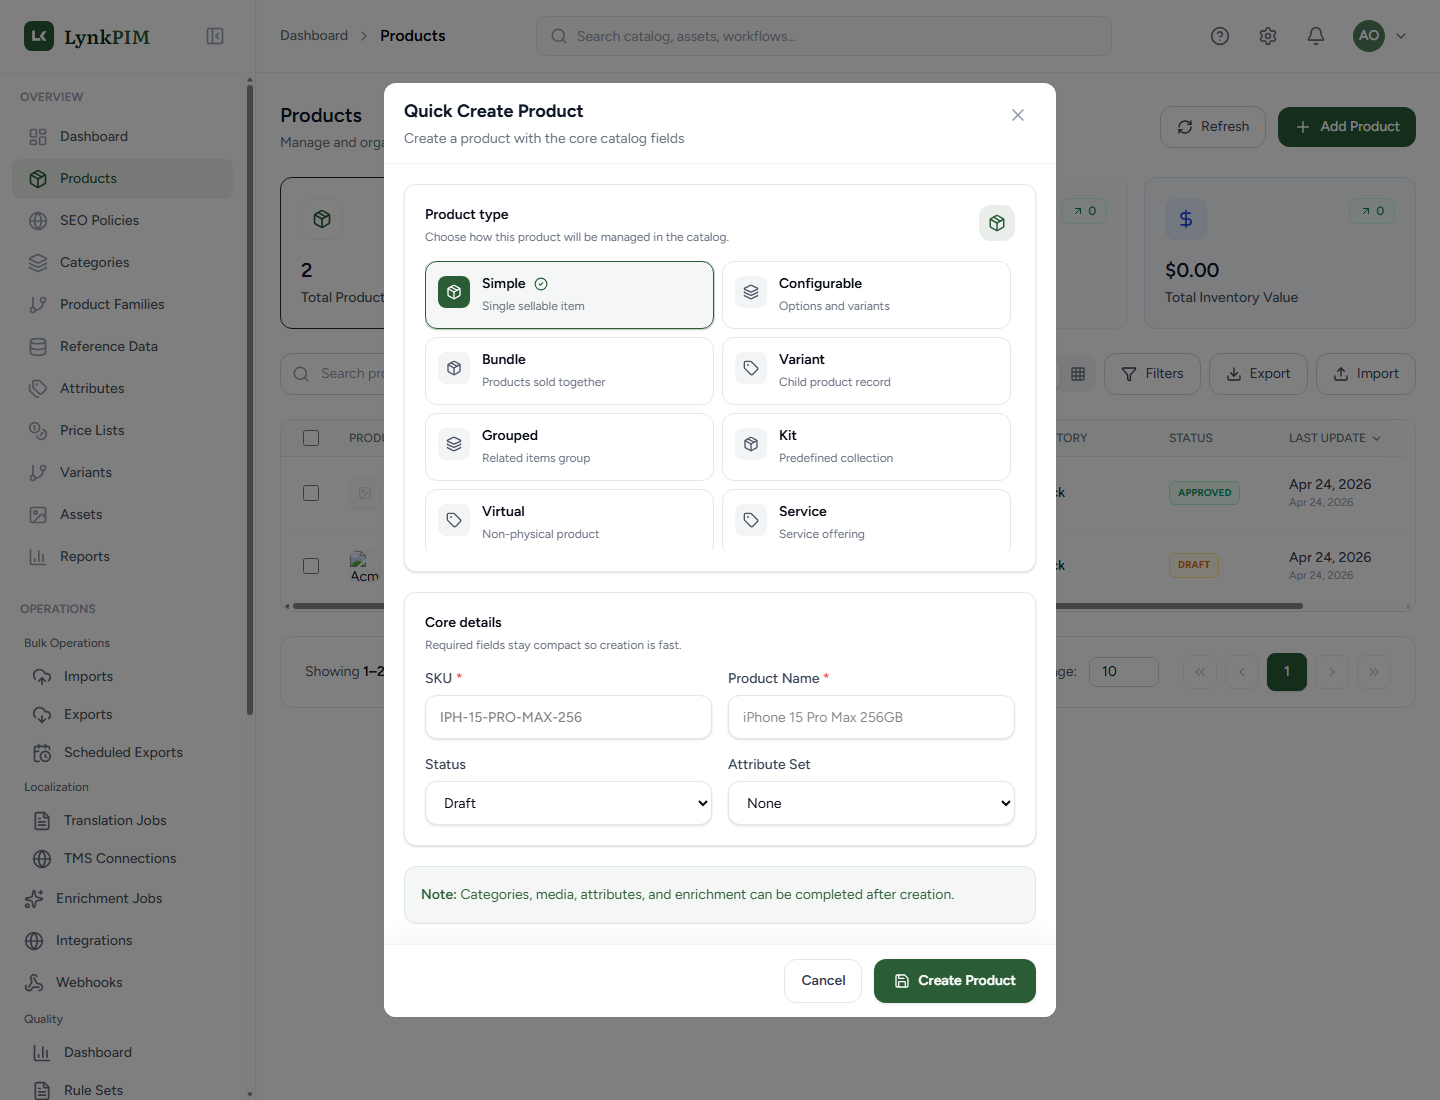
1. Create attributes
Complete these actions in order. They describe the screen to use, the decision to make, and the evidence to check before you move to the next stage.
-
Step 1.1
Do this: Open Attributes and create a field with a clear name, label, and data type.
Why this matters: This keeps the create attributes work traceable and makes the next review, validation, or handoff easier to complete.
Check before continuing: Look for a confirmation message, a newly created record, or a job status entry. If nothing changes, read the inline field error or job detail before retrying.
-
Step 1.2
Do this: Configure options for choice fields and set validation or required behavior where the editor offers it.
Why this matters: This keeps the create attributes work traceable and makes the next review, validation, or handoff easier to complete.
Check before continuing: Confirm that the named screen or panel is visible and contains the expected values. If a control is missing, check your workspace role before continuing.
-
Step 1.3
Do this: Open the attribute detail to review usage and add or update allowed options.
Why this matters: This keeps the create attributes work traceable and makes the next review, validation, or handoff easier to complete.
Check before continuing: Look for a confirmation message, a newly created record, or a job status entry. If nothing changes, read the inline field error or job detail before retrying.
2. Build the category tree
Complete these actions in order. They describe the screen to use, the decision to make, and the evidence to check before you move to the next stage.
-
Step 2.1
Do this: Open Categories and create the top-level groups customers and channels need.
Why this matters: This keeps the build the category tree work traceable and makes the next review, validation, or handoff easier to complete.
Check before continuing: Look for a confirmation message, a newly created record, or a job status entry. If nothing changes, read the inline field error or job detail before retrying.
-
Step 2.2
Do this: Add child categories, then open each category to inspect its information and linked products.
Why this matters: This keeps the build the category tree work traceable and makes the next review, validation, or handoff easier to complete.
Check before continuing: Look for a confirmation message, a newly created record, or a job status entry. If nothing changes, read the inline field error or job detail before retrying.
-
Step 2.3
Do this: Assign the right category to pilot products and check that required attributes fit the category.
Why this matters: This keeps the build the category tree work traceable and makes the next review, validation, or handoff easier to complete.
Check before continuing: Look for a confirmation message, a newly created record, or a job status entry. If nothing changes, read the inline field error or job detail before retrying.
Events and statuses to watch
Actions such as saving, importing, exporting, connecting, publishing, and approving can either update a record immediately or create background work. Wait for the on-screen confirmation and then check the relevant list, detail view, or job status before repeating an action.
- Saved or created: confirm the record appears with the intended values.
- Queued, running, or processing: wait for completion and open the job or event detail if progress stops.
- Failed, partial, rejected, or blocked: read the specific message, correct the source data or permissions, then retry only the affected work.